How Can I Load my SIM2Fly SIM Using Philippine Pesos?

Philippine Peso Payments

There are now 2 options for PHP (₱) payments:

  1. Buy SIM2Fly load on MobileTopup.com with a GCash  or Coins.ph account ( instructions below )
  2. 🆕 Buy SIM2Fly load with GCash, BDO, BPI or any Philippine bank with our full-service Facebook Page

How to pay with GCash Wallet

GCash payment linksAt checkout, you can now choose GCash and pay direct from your GCash wallet.

Using the GCash payment links, you will be redirected to open your GCash wallet to make payment in PHP.

After completing payment you will be redirected back to the Mobiletopup app.

See: How do I request a refund for a failed GCash or Coins top up?


How to pay with Coins.ph Wallet

You can now reload any prepaid SIM, like AIS SIM2Fly,  on MobileTopup.com with Pesos (₱) using the Coins.ph Peso wallet.  If you do not yet have a coins.ph account you can get one here.  There are many ways to add PHP funds to your coins.ph wallet including these fee-free options.

No Coins.ph account necessary!

In addition, you can make payments without a coins.ph account using the 7-11 or Cebuana Lhuillier options.

How to checkout with Coins.ph

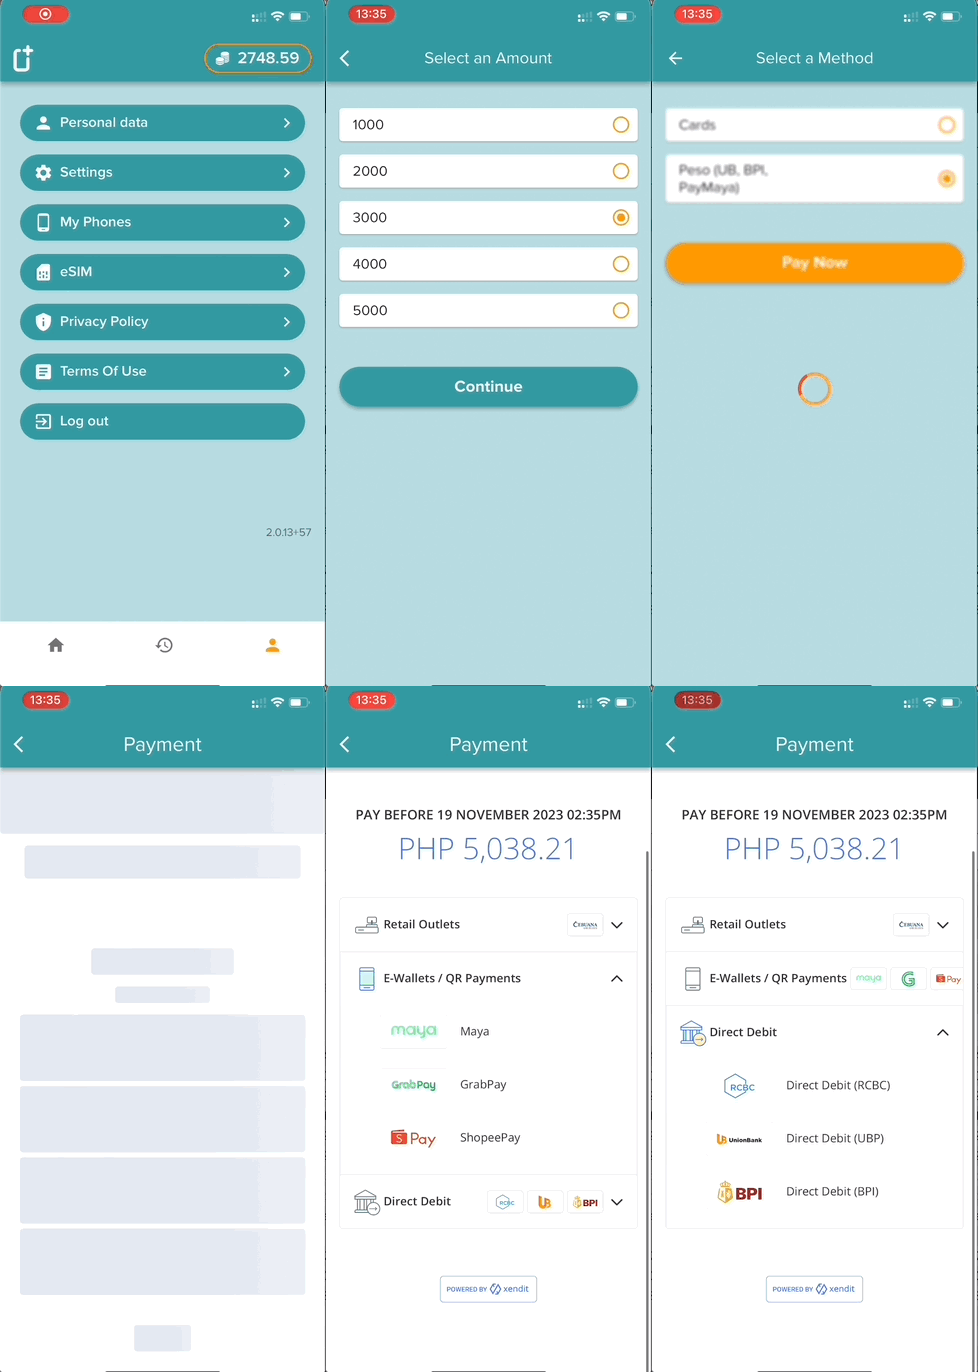
At checkout, simply choose the coins.ph option:

coins.ph payment method
Peso Payment Option at MobileTopup.com


pay with coins wallet
Peso Payment Options via Coins.ph

Payment options are shown on the checkout page.  You can either sign in to a coin.ph account or choose one of the other pay in options.   Payment links are valid for 10 minutes.


coinsph paid invoice
paid invoice shown in history
coins ph invoice details
invoice details

Coins.ph Fees

A 2% fee charged by coins.ph is added to the price and the Thai Baht value is converted to Philippine Pesos at our best available currency exchange rate.   You may face additional fees from Coins.ph depending on the method you choose to pay or add funds.

Assuming your coins.ph wallet is funded without fee, this payment method will be cheaper than using a Credit or Debit card.

Refund for Failed Top Ups

If your recharge request is not able to be filled for any reason, you can request a refund.  Coins.ph does not provide an automated method for refunds and so we will need to manually refund the PHP amount received.  Additionally, we do not get your private information from coins.ph so you will have to send us your account phone or email.

To make a request for a refund request visit making a coins.ph refund request page.

We can not provide refunds for successful top-up requests, even if sent to a wrong number.

OTP Issues

For every transaction, coins.ph requires an OTP to ensure that you are the one who authorize the transaction. Usually, OTPs are received through SMS, however, it will be better to enable 2FA (Two Factor Authentication), then you can use the Google Authenticator app to receive the OTP.

Don’t know how to use 2FA? No worries! To set up your 2-Factor Authentication for your Coins.ph account, simply follow the steps below:

1. Download and install the Google Authenticator app or Authy.

Head over to the App Store Image result for app store icon png for iOS or the Google Play Store Image result for google play store icon png for Android and download Google Authenticator or Authy. It only takes seconds to install!

2. Go to your Coins.ph Account Settings page, and click “Enable.” 

Log in to your Coins.ph account, and click on your name, mobile number, or your email address on the upper right corner then choose Settings. You may also click this link to go there right now!

mceclip0.png

 Look under Two-Factor Authentication and click the Enable 2FA button.

After clicking, you would have to request for a verification code which will be sent to your mobile number:

 mceclip0.png

You will be redirected to a page with a QR code, similar to this:

3. Open your authenticator app and add an entry.

If using the QR code option on Google Authenticator:

Open the Google Authenticator app on your smartphone and click on the “+” button seen on the lower right part of your screen.

2fa_new.PNG

This will bring you to a screen with two options: “Scan barcode,” and “Manual entry.” Click “Scan barcode,” then capture the QR code on the Coins.ph page with your phone camera.

The app will immediately generate a 6-digit verification code for your account. This code changes every 30 seconds (there is a timer on the lower-right side of the codes). Enter this code into the Coins.ph screen, then click “Enable 2FA.”

That’s it, you’re done! Now, next time you log in to your Coins.ph account, after you enter your password, you’ll need to input the randomly generated code by your Google Authenticator app or Authy before gaining access. Since the code’s randomly generated, it’d be extremely difficult to guess it.


About Coins.ph

Read more about coins.ph in this blog post and video review, as well as on Glassdoor.

Was this article helpful?

Related Articles